Pages

Thursday, 26 June 2025

Sip & Paint Workshop

Sip, Swirl, & Splash – A Perfect Evening of Art and Laughter!

Last weekend was nothing short of magical as we hosted our very first Sip & Paint evening — and oh, what a splash it made!

Held in the cozy nook of our creative space in our Preschool, the event was all about letting go, having fun, and watching your inner artist come alive — one brushstroke at a time.

The evening was special because art was the glue that put together like-minded people and also it was special because of the following,

Zero Pressure, All Pleasure:
Whether you were a first-time painter or a seasoned dabbler, the relaxed vibe made it easy to enjoy the process, not just the result.

Step-by-Step Guidance:
Our moderator Ms. Priya gave easy-to-follow prompts so everyone had the confidence to create something beautiful and truly their own. No rules, just joy!

Vibes On Point:
With mellow music in the background and the hum of friendly chatter, creativity flowed as freely as the snacks & savouries. 

Kids on a roll:
Along with adults, kids had so much more fun and they made a gang of their own and also made cute masterpieces.

Insta-Worthy Moments:
The final art pieces were as unique as their creators — and the group photos? Absolutely frame-worthy!

This event reminded us that art is not about perfection, it’s about expression. Mixing fun & work is absolutely refreshing and this was one unique way of doing it.


Sujana


Saturday, 21 November 2020

Eco-Friendly Ganesh - Clay Pillaiyar

Hello friends,

On my blog today I am sharing a cute Ganesh! This Pillaiyar (Ganeshji) was designed especially for kids, so that they can make their own homemade Ganesh for Ganesh Chathurthy. This can be made both with clay or flour dough or with a mix of turmeric and flour, all this made at home.

This method requires very less experience with clay and it starts by making balls from clay for each of the body parts of Ganesh, (3 big balls - head, body & trunk, 6 small balls - 2 ears, 2 hands, 2 legs) and finally 1 different colour ball for the crown. 


You can also decorate the crown with stones or button. Further the extra things needed are white clay for laddoo, a white thread, and tooth picks for tusk.

We did for our little ones during our zoom session and they loved it to bits. 


Here is a pic of my Pillaiyar made with turmeric and flour. The eyes are made with pepper. Nothing here is harmful or non-recyclable. Makes me very happy. :)

An eco-friendly Pillaiyar. 
Lets be more responsible and Lets make the world green!!

Love,
Sujana


Thursday, 19 November 2020

Mixed media Art Journal

Hello peeps,

So here is my second attempt at Art journalling. I tried to take a different concept and colours, but more of less I feel the colours are the same as my first attempt at mixed media. Here also I have used the same materials as the previous project.


I did make a lot of mistakes with the techniques, but every mistake makes it more interesting. I loved playing with the colours. Hope you like it too. Comments and suggestions for improvement are welcome. Thanks in advance.


Close up view of the focal element


Love,

Sujana


Tuesday, 17 November 2020

Interactive Clock Craft Activity - Telling Time for Kids

 Hi there everyone,

Today I have an interesting activity to share with you. It's an interactive clock which means kids can move the hands of the clock and show the right time. I did this model for my son for his Maths exhibition at school. 

Here like you can see, there is a pouch at the bottom of this model. It contains simple questions for kids, they have to solve it and find the right time and set the time in the Clock. It was interesting activity and kids loved it a lot. They kept coming back to our stall.

The model is made up of a card board base (carton box) and easily available materials. I am listing it down for your reference.

1. Carton box

2. pattern paper

3. Foam sheets (corrugated)

4. Foam numbers from Itsy Bitsy

5. Card board hands

6. Stickers, etc

I also added a stand for the model, so that it can be displayed on the counter. Hope you were able to draw some inspiration from this, and hope it was useful. Thank you and see you soon again.

Love,

Sujana


Monday, 16 November 2020

Mixed Media Art Journal - My First

 Hello friends,

Here is my very first attempt at making a mixed media art journal. I attended a workshop with Ujjwal Gupta, where she taught about the techniques and basics of Art Journalling. Though I was not able to attend the online session fully, it truly was an eye opener. 

Here is my take


Material used 

1. Pebeo Studio Acrylics Gesso

2. Transfer Me sheets from Dress my Craft

3. Ivory Sheet from Dress my Craft

4. Stencils from Itsy Bitsy, Ranger, Dress my Craft

5. Distress Inks

6. Watercolours

7. Decoupage sheets from Ujjwal

8. Sentiments from Ujjwal


Here is a close up view of the main elements!!


Hoping to work more with mixed media in the near future!
Love,
Sujana


Saturday, 14 November 2020

Easy Handmade Rakhi for Kids

Hello everyone,

 Happy Diwali to all!

I am here again after a long time, and trying to keep this blog alive. Actually I do have a lot to post, but facebook and instagram seems to be an easier way to share things. So I keecep missing to post it here.


And here are some awesome handmade Rakhis for kids to make at home with minimal materials. I will list out the things used here to make these cute Rakhis.


Things used

1. Satin Ribbon or Lace

2. Foam sheets

3. Cute buttons

4. Ric Rac lace

5. Velcro

6. Yarn to make handmade pom moms

7. Colour sheets

8. Pearls

9. Googly eyes

10. Fevicol


OK hope you liked it. Share it with kids and give them a sense of joy in making handmade things.

Thank you!


Love 

Sujana

Saturday, 11 May 2019

More Stamped Cards!!

Hi all,

I was going through my old posts and pics. And here are some cards i made for Mudra GD post and which i dint post on my blog. So here they are...

Also here is the link to Mudra blog which has my GD post. You can check it out there also. I have shared a little bit about me there.

Ok here we go,


Building a scene with the stamped birdies


watercoloured bg


resist stamping with die cut xmas tree 
For a detailed info about the cards, you can check out the above link.
Thanks for visiting, Have a great day

xoxo
Sujana

Thursday, 9 May 2019

Floral Tags

Ok here i am as planned...

Today i am sharing some "Thank you" tags i made sometime back. They turned out beautiful and chic, Have a look


I have stamped the bg with a script stamps and used an oval frame die cut, some flowers, pollens and die cut leaves. Pretty pretty!!


You can use such tags for birthday return gifts or simply along with Teachers' Day favours. The choice is yours. Grab the idea and start creating!

Loads of love, till nxt time
Sujana


Wednesday, 8 May 2019

Vegetable Clay Modelling

Hello there...

Yesterday i was going through my blog history and i found that the posts which got maximum views/visits are those related to kids' project. And i thought why not post more relating to that, and i got many of those.

So today i have a post on Clay modelling. The theme is Vegetables. This project was done for my son's school competition. He did a pretty good work and we chose a whole lot of different vegetables for it. Here are the pics..

Clay modelling for kids

As you can see, apart from just making the clay models, we made elaborate arrangements for displaying it. The base is an old recycled tea box. I have divided it with foam board and layered it with corrugated sheet and net.

Clay modelling - Peas, Corn, Chillies


We made 9 different veggies and they are Peas, Raddish, Carrot, Corn, Chillies (green & red), Brinjal, Pumpkin, Cabbage & Tomatoes
The last three vegetbles mentioned are placed in the stand. I found a candle holder ceramic doll to act as the Vegetable vendor.
All vegetables are pretty easy to make. You can zoom in for more details. With more pratice, kids will be able to mould it in the proper shape.
Of all these vegetables, cabbage & corn might be a little tricky for little hands to mould since it needs the leaves to surround the veggie.


Clay modelling - Brinjal, Raddish, Carrot

Anybody loves it when the final piece looks soo good. And i was completely satisfied with this. And the candle holder added such beauty.

Clay modelling - Cabbage, Tomatoes & Pumpkin

Hope this gives an idea for kids and parents alike who are searching around for ideas for competition. Do comment your views and if you have tried any other vegetable, do mention it.

Thanks for dropping by and showing some love,
Sujana

Tuesday, 7 May 2019

Buntings and Banners!!

Hi there...

I am returning to my blog after a couple of years. So let me start off and do a couple of posts.
I am very fond of going overboard with parties. And buntings help in bringing a customised look to any party. So here are a few buntings and banners.


Customized buntings for twins

The above Paper pompoms are handmade and the letters are hand cut. Love the colour combo

Linking this to the very pretty PIN on PINspirational Challenges


Here are some more Banners & Buntings...


Here is a very elaborate name banner which i did on commission long back. 


Vertical banner


Here the letters are cut with my Silhouette cameo. Now a  days most of my work involve a little bit of my cameo. So today's post is a start and hope to keep it going. I got loads to share.

Thanks for dropping by,
Sujana

Sunday, 28 May 2017

Shake... Shake... Shaker!!

Hello friends

Its good to be back again... i have been MIA for the last 2 oh no 3 months. What with summer camps, bdays and summer vacation!!

Every year for the summer camp, my camp kids make a lot of interactive cards, but i have never been able to share anything here (already finding hard to blog my cards). but this time ill try and post few atleast.

Ok first of all, ill start by posting few favorites i missed to blog about. I made this just b4 the camp started. Have a look (but i might have posted it in Insta though)


As you know i was addicted to colouring digis lately and this digi found its way to this shaker card. Loved it. Its cute and my daughter gifted it to her friend for birthday. The outline of the digi is clear embossed with Emboss It pen.


The Sequins are from Papericious and almost all other stuff from my crafty scrap. I know i have lots to catch up to. Will be visiting all your blogs soon and the various challenges going on.

Hope you liked my shaker and see you soon with another one. bye bye
Sujana


Tuesday, 7 March 2017

My Galaxy card

Hello there crafters....

My first post for March!!
I was soo fascinated with all the galaxy bg cards and i was inspired to do one. Here is my humble attempt at it.


I started off with the idea of a moon and and after few trial this seemed better, that is the sentiment on the moon. The sentiment is heat embossed in silver and slightly distressed with pumice stone DI. 

Background
For the bg i have used Faded Jeans, dusty concord and pumice stone. And when i was pretty satisfied with it i splashed it with white acrylic paint. 


Shaker
I made a small window with nested rectangle dies and added acetate sheet. Some silver sequins to finish it off. Also i have added silver twine below the Moon. 


Thats it for today. Hope you liked it. Thanks for dropping by and have a great week ahead.

Linking it to 

Avenue 613 - No digis

Addicted to Stamps # 251- ATG

Pile it on - Humour/puns

PINspirational challenges # 185
 
(i have used stitched dies)

Tuesday, 28 February 2017

Unicorn shaker card

Hello all,

Here is a quick post from me. Its a fun Unicorn shaker card. I actually wanted to do a slider card, but a shaker card was easier to finish for me. So do expect a slider card very soon.

Also Unicorns are my daughter's all time favourite. She is quite a reader and recently she has taken an immense liking to Linda Chapman's Unicorn School. So this card is for my lil darling girl.

Have a look at my unicorn,


The stamp set is from Avery elle 'Be a unicorn'. The images are gold embossed on watercolour paper and coloured with Distress inks. 


I have used my new Pumice stone Distress inks for the frame and the sentiment. The sentiment is from Peekaboo designs. Below is a close of the unicorn. I have tried watercolouring with multicolours on the unicorn mane and tail.


Filled the shaker with silver sequins and red stars. Dont ask about this combo... jus went with my crafty gut feeling.


Thanks a lot for dropping by.
Bye bye guys
Bye Feb.
xoxo

Sujana

Simon Says Stamp- Wednesday Challenge - ATG

Glitter N Sparkle #228 - ATG

Pile It On # 127 - Monsters and/or fairies

Simon Says Stamp - Monday Challenge- Based on a book

Thursday, 23 February 2017

Baby Girl Explosion box

Hello friends,

guess wat... am back to explosion box 😉
I made this for my friend's new born daughter and loved how it turned out. In fact i have made my first craft video with this. Do check out the video link at the end of the post.

Here are the pics, (its picture heavy)


Loaded Box top

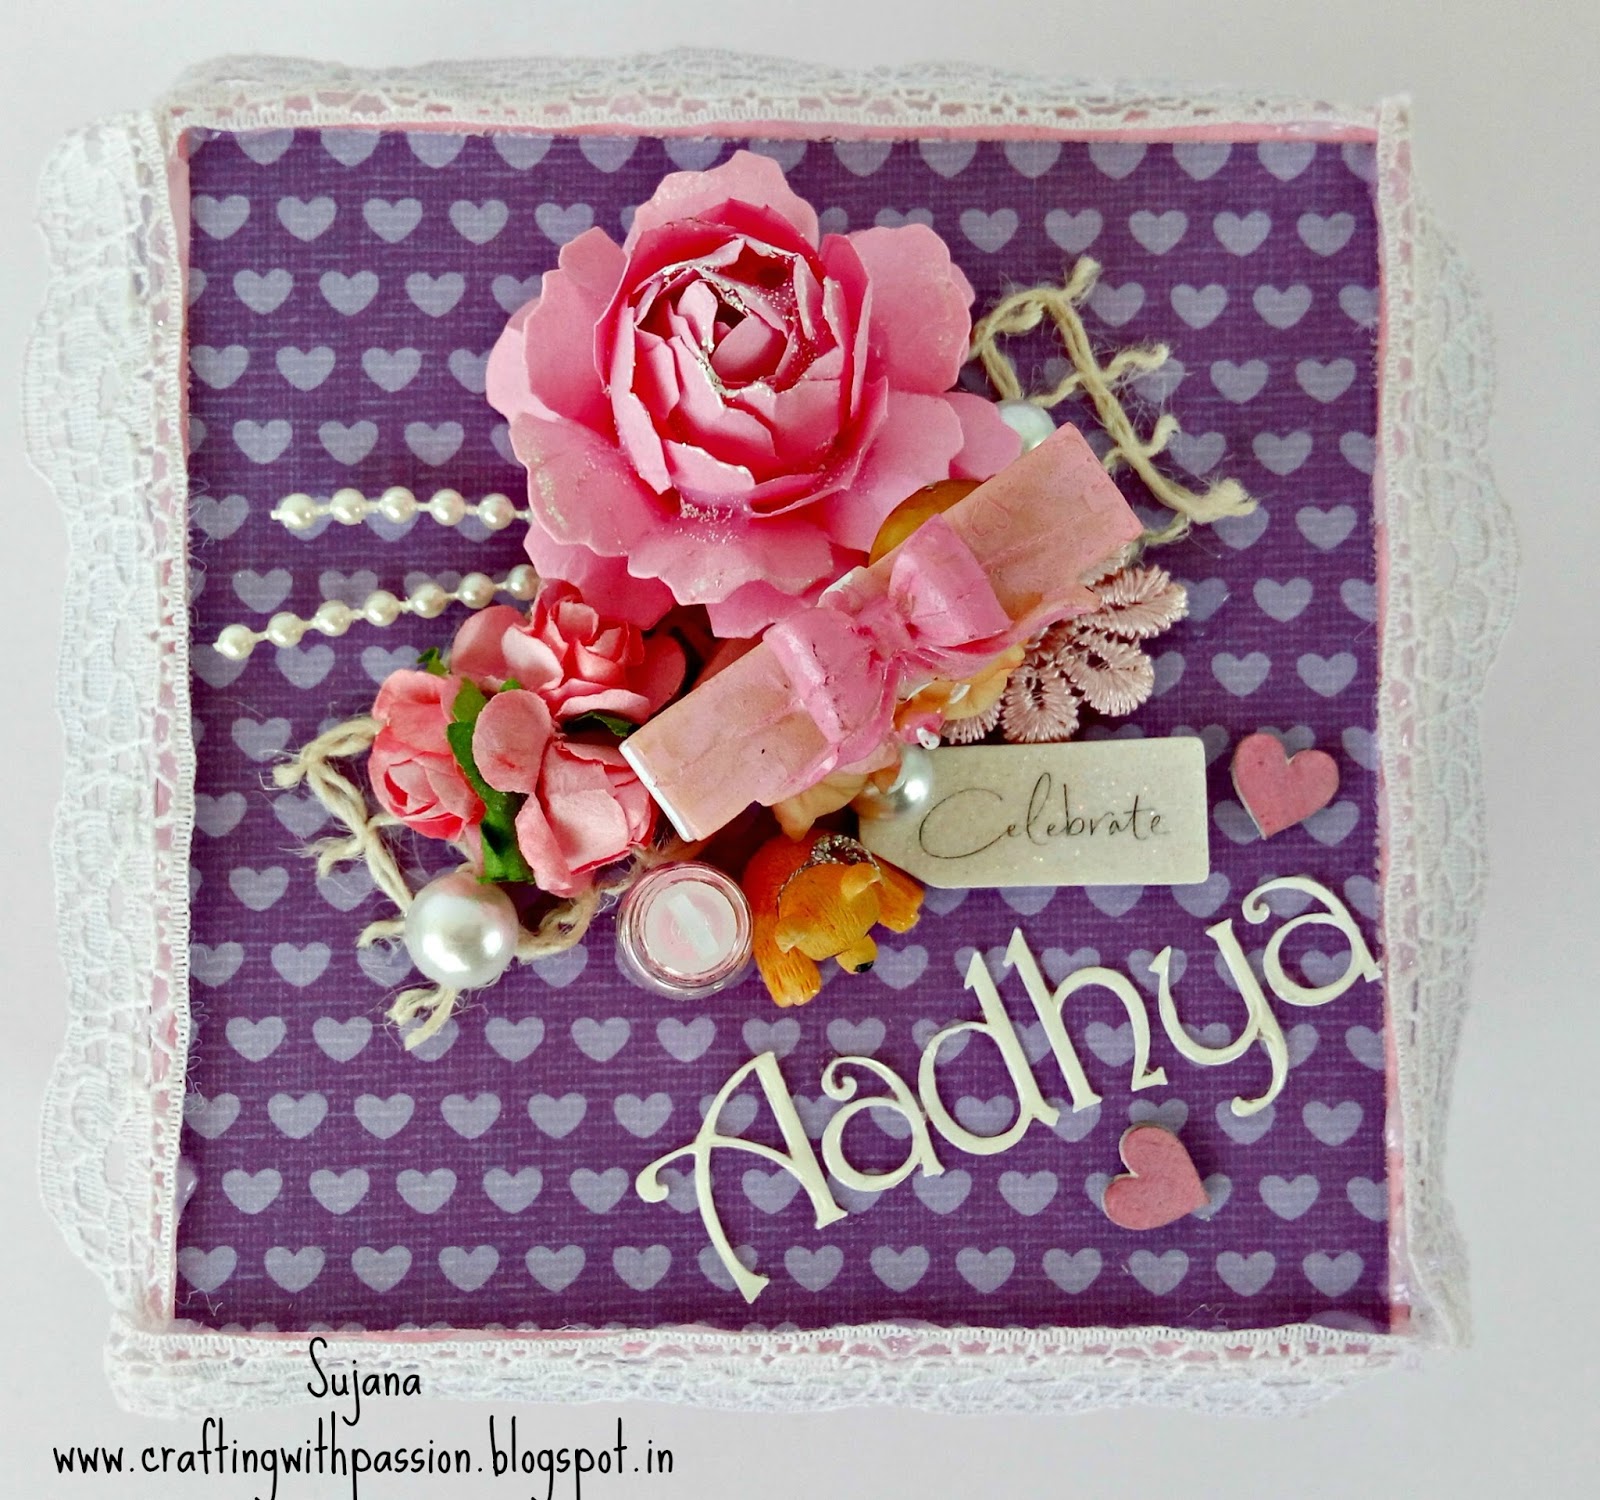
I have made my box top with a ceramic doll at the centre and surrounded by cute miniatures. The name is Silhouette cut and has a coat of glossy accents. Beads, lace, chipboard, etc


Close up of the ceramic doll

The flower is handmade with Tim Holtz tattered florals. I have heat embossed some white glitter on the flower. The white lace is glued with a glue gun. Also on the outside i have used fleur de lis squares as frames and chipboard elements. Chipboards are from Papericious & Itsy Bitsy.


handmade rose embellishment

At the centre is a handmade pram which can be used to hold chocolates and favours. The scallop hearts are thin cut dies from Itsy Bitsy.


Full reveal

Its a 3 layer explosion box with out layer panel measuring 4*4 inch, middle layer- 4*3.5 inch and inner layer - 4*3 inch


baby pram @ the centre


Back view

The panels have pockets, waterfall element, photo mats, etc. Here are some of the panels.


Inside panels


page panels
That's it folks. Hope u enjoyed it. Dont foeget to check out the video below. Do share ur views on my first craft video.


xoxo
sujana

Linking it to
Itsy Bitsy # 2- Thin cut dies

Monday, 20 February 2017

Linen Florals

Hello friends,

Here is another card today. I am so stuck to Distress inks and stamps. I hardly ever reach my pattern papers these days. Loving the change. Have a look at my card first,


Gold embossed flowers


This stamp set is from Mudra "Linen blooms", Beautiful set it is.
I have always wanted to make a bg like this, with washi tapes. And finally got the perfect focal point for such a card.


Close up of the Linen blooms


I stamped the flowers in watercolour sheet and heat embossed them in gold. Used DI to colour my flowers. Then fussy cut them and arranged in a bunch. 

For the background, i have used Papericious ivory cardstock. I aligned the washi tapes in equal distance and sponged Pumice stone DI and a gradient pattern. Used peekaboo stitched rectangle die here. 
washi tape mask background

Wanting to add more interest i added a frame die cut from spellbinders behind my bunch and it looked good. Tried few sequins but i wasnt satisfied and finally went with these black square stones.


I couldnt stop from posting so many pics, Anyway thanks for dropping by, hope you liked it.

Hugs
Sujana

Linking it to,


You might also like