Pages

Showing posts with label For lil girls. Show all posts

Sunday, 28 May 2017

Shake... Shake... Shaker!!

Hello friends

Its good to be back again... i have been MIA for the last 2 oh no 3 months. What with summer camps, bdays and summer vacation!!

Every year for the summer camp, my camp kids make a lot of interactive cards, but i have never been able to share anything here (already finding hard to blog my cards). but this time ill try and post few atleast.

Ok first of all, ill start by posting few favorites i missed to blog about. I made this just b4 the camp started. Have a look (but i might have posted it in Insta though)


As you know i was addicted to colouring digis lately and this digi found its way to this shaker card. Loved it. Its cute and my daughter gifted it to her friend for birthday. The outline of the digi is clear embossed with Emboss It pen.


The Sequins are from Papericious and almost all other stuff from my crafty scrap. I know i have lots to catch up to. Will be visiting all your blogs soon and the various challenges going on.

Hope you liked my shaker and see you soon with another one. bye bye
Sujana


Thursday, 23 February 2017

Baby Girl Explosion box

Hello friends,

guess wat... am back to explosion box 😉
I made this for my friend's new born daughter and loved how it turned out. In fact i have made my first craft video with this. Do check out the video link at the end of the post.

Here are the pics, (its picture heavy)


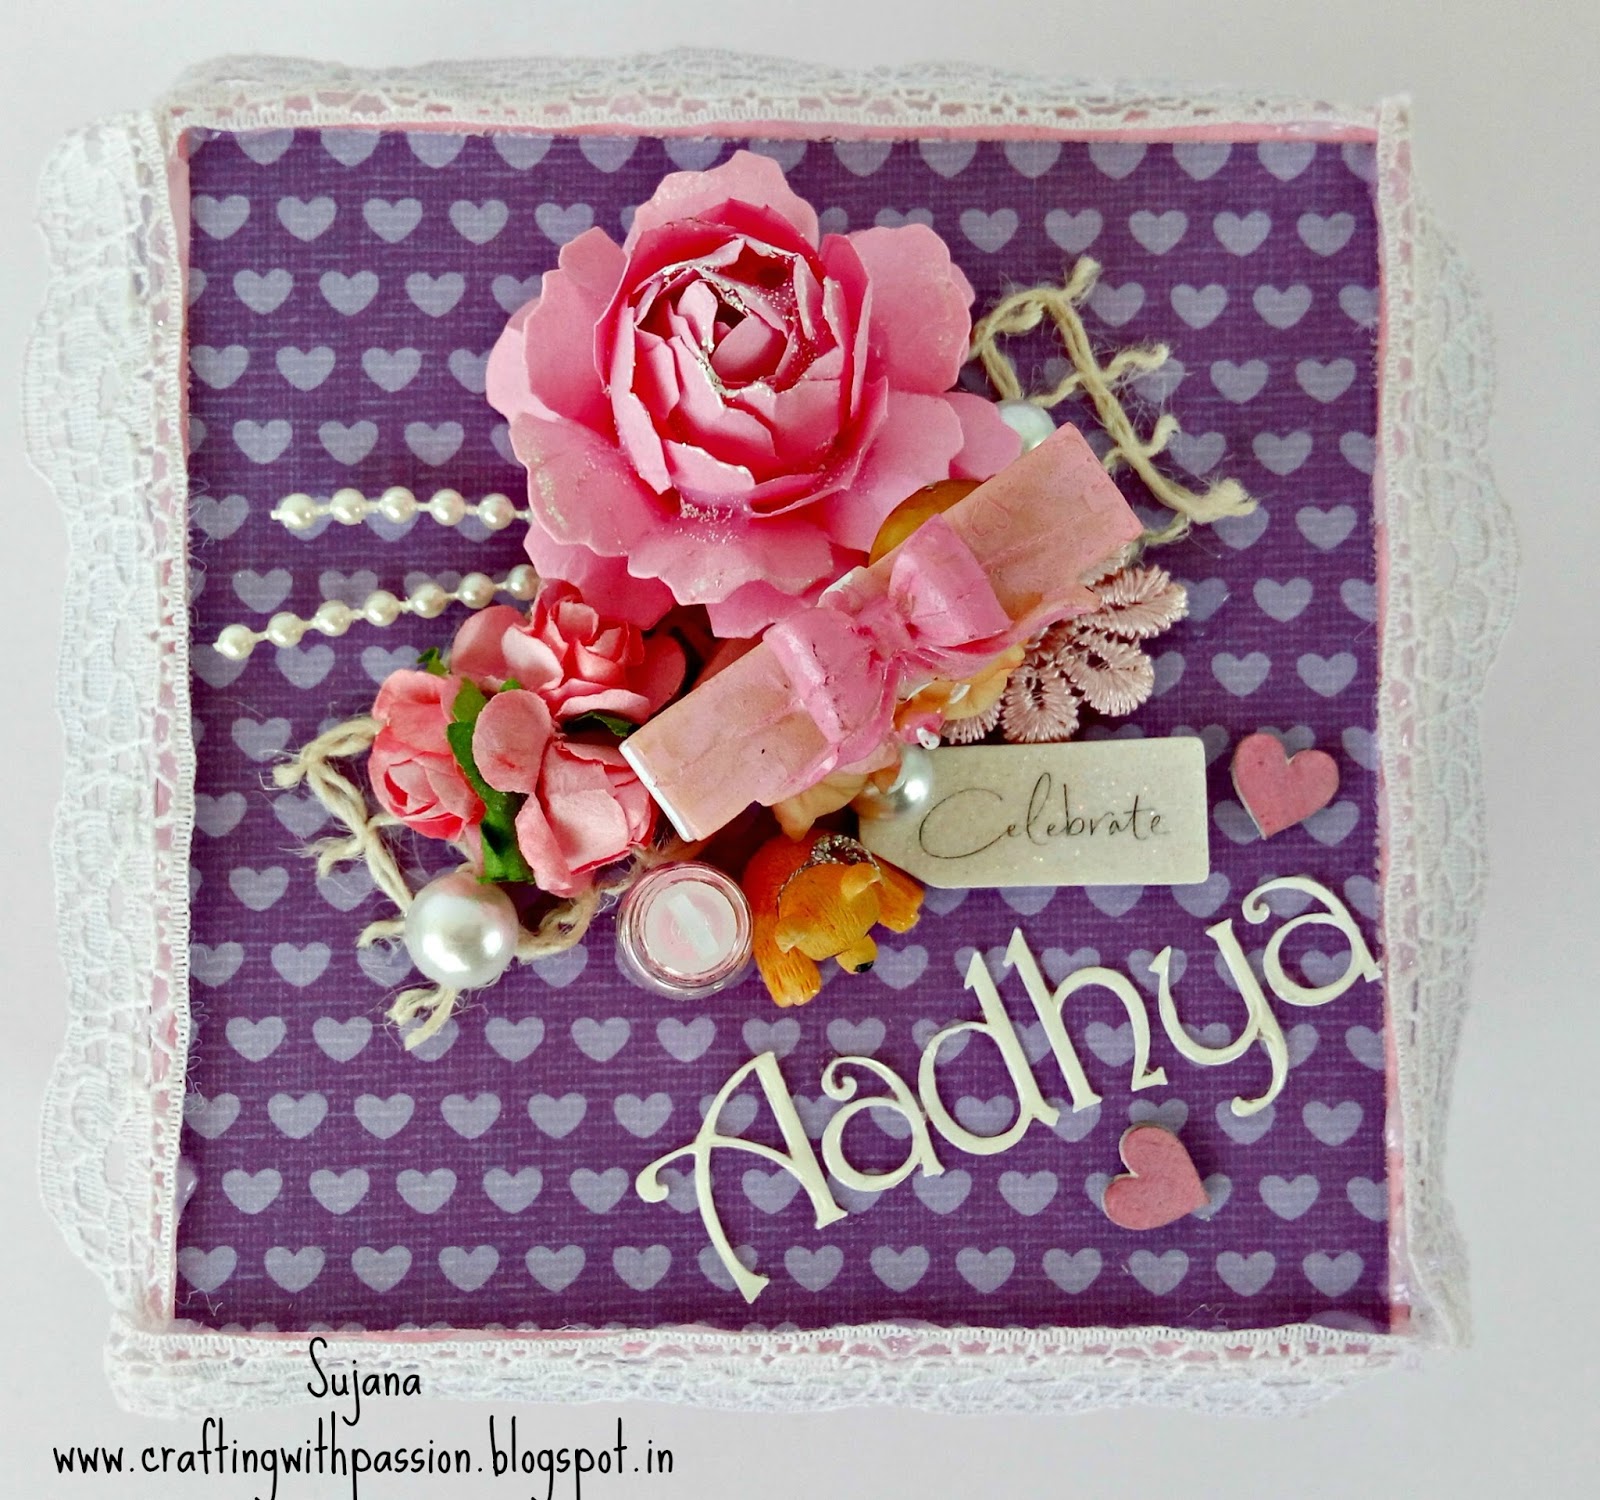
Loaded Box top

I have made my box top with a ceramic doll at the centre and surrounded by cute miniatures. The name is Silhouette cut and has a coat of glossy accents. Beads, lace, chipboard, etc


Close up of the ceramic doll

The flower is handmade with Tim Holtz tattered florals. I have heat embossed some white glitter on the flower. The white lace is glued with a glue gun. Also on the outside i have used fleur de lis squares as frames and chipboard elements. Chipboards are from Papericious & Itsy Bitsy.


handmade rose embellishment

At the centre is a handmade pram which can be used to hold chocolates and favours. The scallop hearts are thin cut dies from Itsy Bitsy.


Full reveal

Its a 3 layer explosion box with out layer panel measuring 4*4 inch, middle layer- 4*3.5 inch and inner layer - 4*3 inch


baby pram @ the centre


Back view

The panels have pockets, waterfall element, photo mats, etc. Here are some of the panels.


Inside panels


page panels
That's it folks. Hope u enjoyed it. Dont foeget to check out the video below. Do share ur views on my first craft video.


xoxo
sujana

Linking it to
Itsy Bitsy # 2- Thin cut dies

Sunday, 12 February 2017

There's no one like You

Hi crafty heads,

Am soo excited to share this card today. take a look


Here is another card i coloured with my kids Faber Castell colour pencils. The image is a free digi from the net. I applied a layer of Mod-podge for the glossy look. But the most exciting part for me is the bg. I recently bought a pumice stone DI and i love it. Still trying out different possibilities with it.

After blending in worn lipstick & pumice stone i splashed some water drops and heat dried it. The sentiment is heat embossed. The card front and base are cut from Peekaboo stitched rectangles.


Oh i love clicking photos with props. And i love the girl's pose. Soo lovely.
Thanks for dropping by today. 
PS..Am planning to buy some Artist colour pencils (not water colour pencils though), can anyone suggest the best.

xoxo
Sujana

Linking it to
SSS Wednesday Challenge - CUTE

Cutie Pie Challenge # 108- Simply Love

Pileit on #126 - Hearts on Fire


Seize ur Birthday


Glitter & Sparkle # 226 - Love is in the Air

Simon Says Stamp Monday Challenge - Young at Heart

Tuesday, 7 February 2017

Gesso BG + Digi Image

Hello there...

February is truly romantic in the blogland with reds & pinks. Loving the ideas everyone come up with. But i am truly in a different mode. Trying out new stuff and new techniques. Some particular idea hits you and u can never come out of it until satisfied.
So this time around it is Digital image & watercolours for me. When my limited supply of image stamps ran out, i have started trying watercolouring and pencil colouring on Digi images.

Ok here is my humble take on colouring Digi images. I have had many challenges. The main being "smearing & bleeding of printer ink". I still havnt overcome it, trying different methods. Hope something works out soon

Water coloured Digi Image

I have coloured the image with watercolour pencils. You can see the difference in the face... skin tones are the most sensitive to bleeding. It was just a trial at watercolouring but i cudnt waste the pic... so made it into a card.

BG
For the bg, i first applied gesso thru Hero Arts chevron stencil and let it air dry. I wanted to make a watercolour washed bg but Distress inks get too diluted and hence the light bg. Gesso resisted the DI and thus a beautiful bg.


Gesso+Stencil in BG

Finally mounted the image on the bg and accessorized it with pearls & ribbon. Sentiment stamped with versamark onyx ink. It really stamped well on gesso too.

So thats it today. Hope you liked it. Do comment on tips to avoid ink bleeding. Thank you

Hugs
Sujana

Submitting it to 

Monday, 9 January 2017

Pretty Girl!

Hi,

Today am sharing a card that i guest designed for Mudra


     I loved this stamp when i first saw it. Pretty thing it is. It is basically a Square card measuring 4.5"x 4.5". I got inspired by these colours from another card and wanted to use it as a bg. Loving the play with watercolours and the texture created by the waterdrops.


Thanks for dropping by today, see you soon again.

Wednesday, 17 August 2016

Fancy Dress - A Warrior Princess!!

Hi there people,

Am back after a small hiatus. Thought ill update my blog about what kept me busy. It was the Independence day week and ofcourse "Fancy Dress". My daughter was given the topic 'Video game character'. And after a lot of browsing and late nights, decided on a character called Lady Hayakawa, a Samurai Warrior Princess.
Here are the pics for u


And a few more pics for comparison


It was real hard work. I got the basic skirt and coat stitched, but worked all the way from the gold patterns to the armour and all other embellishments. Loved the outcome. Love Samurai!!!

Hope you liked it. Thanks for dropping by.

PS. My son dressed up as a batman, will be sharing those pics very soon

Thursday, 4 August 2016

1st Birthday Scrapbook

Happy morning folks..

Soo happy to be active in blogland again. The one thing that makes me happy apart from crafting is going through all the delicious new crafty goods coming up. Cant get enuf! Never.

Okieees today am sharing an album i made a lil while ago. Wanted to have a twist from the regular ones, so went for circle shaped scrapbook. Hope you enjoy going through.


Album Cover


Front Cover


Close up of the glossy look


Tags for wishes


Birth "day" details


Cheeeese


bday cake


More tags


gifts Galore


Sugar & Spice


Menu card


Guest List


Back cover


A few of the titles are cut with the cameo. Am yet to master my cameo. I loved making this album and was happy with the outcome. Hope u liked it too.

Sujana

Linking it to

Paper Shelter- July Challenge

Ranganjali - Geometric

Crafty Friends - Favourite Embellishments (my fav embellies are buttons & Washi tapes)

Craft your Passion -ATG

Monday, 22 February 2016

Frozen themed Birthday Invites!!

Hello lovely ladies...

With my lil guy's birthday approaching, i realised that i haven't yet posted my daughter's last year bday invite. It was a Frozen themed birthday party and loads of handmade items we had. Today ill first post the invites i made. 


I made quite a handful of different models. Every card is a shaker card though. I had saved this gorgeous snowflake pp and it was perfect for these invites. The shaker part was the tedious one but still enjoyed every bit.


For the shaker fillings, i used very small beads, blue and silver of course. And the snowflakes are die cut. I won these dies once from Itsy Bitsy. 


This 4th model is the first one i actually made, I wanted to create something like a scene, which dint turn out like i imagined ;)


Thanks for dropping by, do share ur comments. In the next post ill share other stuff i made for the bday party. 
Have a great week ahead. 

Playing along few challenges after a very long time

Monday, 1 February 2016

Simple Terracotta ear Studs!!

Hi there people, 

Today am sharing few more of my trials with Terracotta jewelry. I made few studs for my daughter, which she can wear for her school, something simple and neat. 
So check out the pics and do give ur opinion. (tried out some photography too ;) )


Dark blue geometric design

Square shaped stud

Dark blue flower shaped stud

I kept the colours mostly on the darker side since the school uniform is blue and white. 
I was looking for apt places to click the pics, we are very comfortable with clicking scrapbooks and cards, but jewelry? it was pretty messy at first , then tried it on flowers. The ear pieces looked bright and beautiful on a Gerbera flower. And here it is.

Hope u liked it. Thanks for dropping by
Sujana

Wednesday, 9 December 2015

Fresh floral Jewelry

Hello folks...

its been ages since i blogged. Today i have something interesting and different from cards and paper craft. Yes, its my first try with fresh floral jewelry. I designed and laboured over it for a whole night. Here are the pics first,


Ok as you see the various floral ornaments i made are
Necklace, 
Hip chain, 
Bangles, 
Vangi (upper arm), 
Nethi Chutti (forehead chain), 
Earrings, 
Hair accessories 


The main flower ingredient is Nandhiyavattai (tamil), Moonbeam or wax flower in english and Chandni in Hindi. I also used Rose petals, few beads and golden lace along with it. 


The flowers look like jasmine because they were harvested as small buds. This adds to the beauty and sturdiness. First i made a lot of strings with the white flower and then put the parts together. It was time consuming and fun and interesting too.


The Dollars/pendants took the most time. First i started with the golden cloth and threaded it to make it look like a flower, then layered it with white flower, rose petals, golden bead and finally a red one. I loved it. Dint know my first experience would turn out satisfactory. My favourite though were the earrings, i bought a plain hoop earring and threaded the flowers directly to it. It suited my lil gal very much.


Thanks for dropping in my blog, hope u liked it. Do drop your comments and experience on fresh flower jewelry. Any tips and techniques are also welcome.

Hoping to blog more. It clears my mind and gives a lil peace time.

Bye bye
Sujana 

Tuesday, 17 February 2015

All Pinky 'Card in a Box'

Hello there crafters....

Hope everyone out there are busy as bees. Ok today s post is a Card in a Box. It was for a lil girl and so i added lots of pink in it. Girls and Pink.... it was always a great combo but now a days girls once into the teens want to distance themselves from "Pink" cos i guess pink screams cute cuddly and a baby all over. This is because i got a couple of requests for 15 16 year old girls asking kindly avoid pink :)
Here is my all pinky card for a 9 yr old :) Have a look


Front View


Side View

The popping elements i have added here are few but take a look at the 3d banner i have added. Do u know how i created it? I took a curvy strip of transparent sheet and stuck the lil triangles to it, then added lil bows at the end. Then to this set up i added tooth picks to act as poles. You might get a look at the tooth picks in the first pic and the next one. Simply loved it, i should have taken a individual pic of it i guess


The popping elements

I have paper pierced the tatty bear from a PP and added 3d elements to it, Lil glittery stars and bday hats. And to the back side i have added another sentiment and left some space for personal message.


The back view

And finally i made a coordinating box cover for it, all pinky again ;)


The box cover

That is all for today, hope u enjoyed it. Thanks for stopping by.
Have a great day

Sujana

Linking it to

Cosmic colours # 10


You might also like